
Final Image

Image link: https://entertainment.top10sense.com/wp-content/uploads/sites/5/2012/10/heart1.jpg
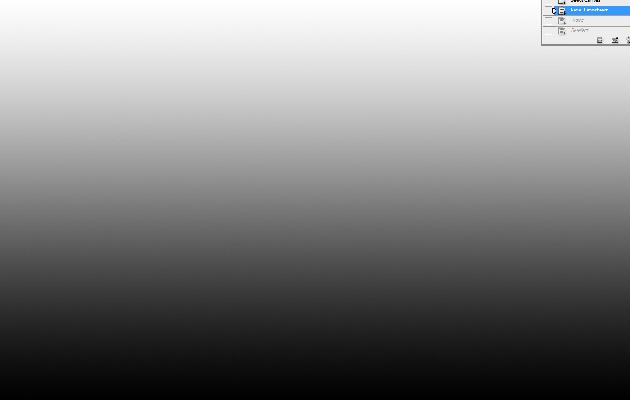
open a new document in photoshop with following setting : –

now press G to select gradient tool ( foreground -white and background black ) and select linear gradient and fill the layer with gradient as shown : –
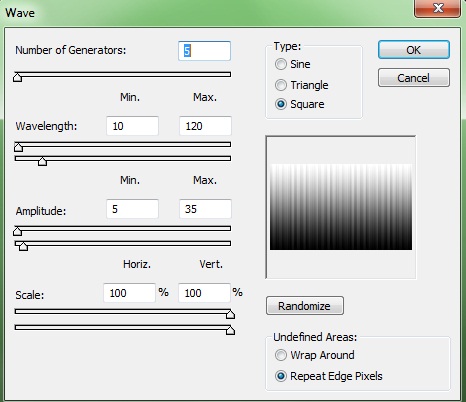
Now go to filter>distort>wave and select square in type and rest of the setting are default as shown below —–
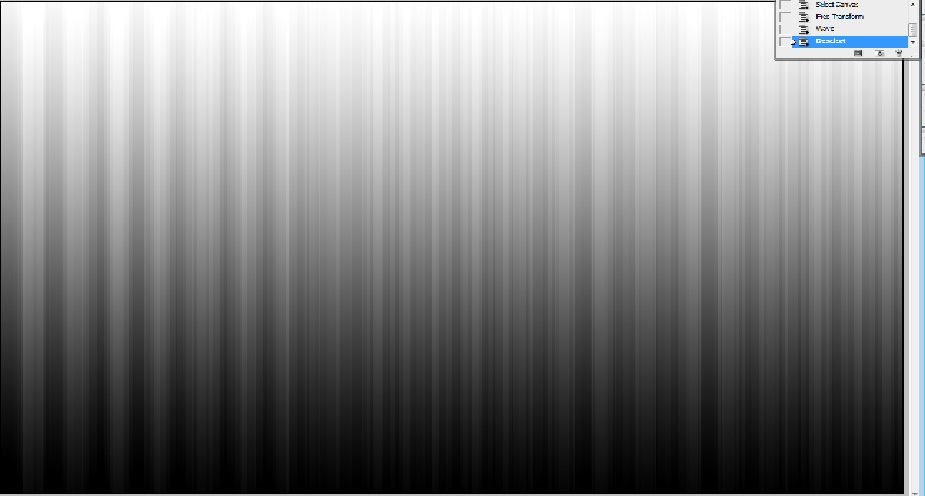
here is what we get —-
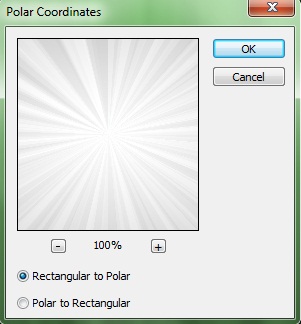
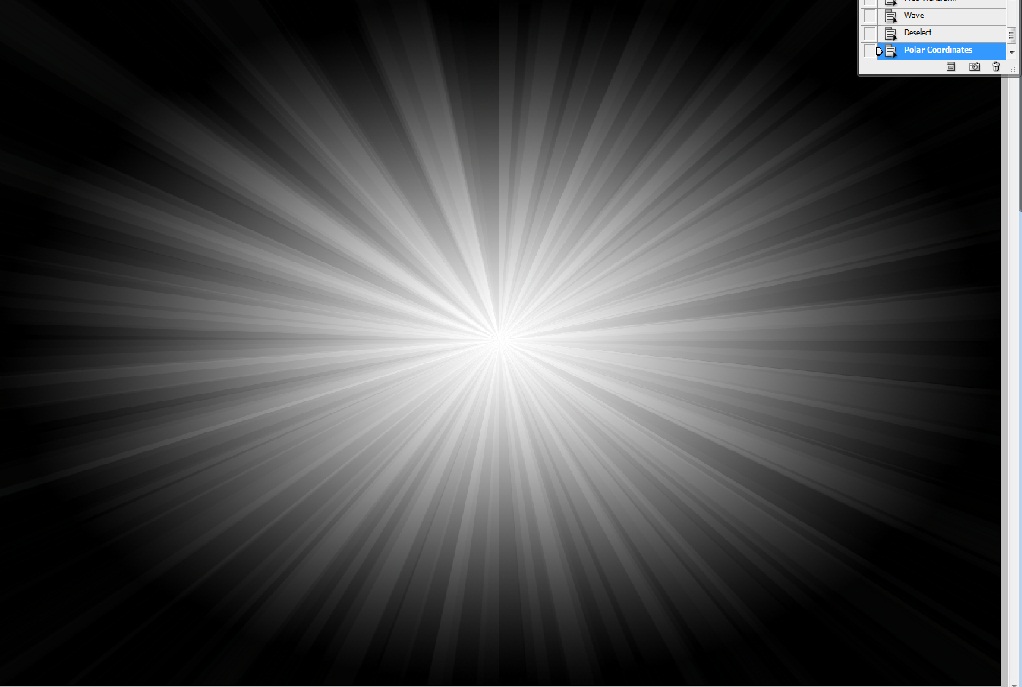
Now goto filter>distort>polar coordinate with following setting ( select rectangular to polar ) —-
Here is what we get —
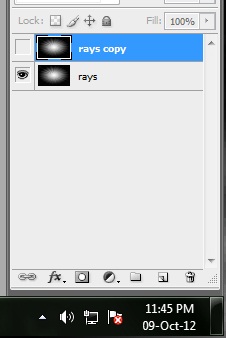
Name this layer rays and duplicate this layer by click on layer. Hide the duplicated layer by clicking the eye icon on left
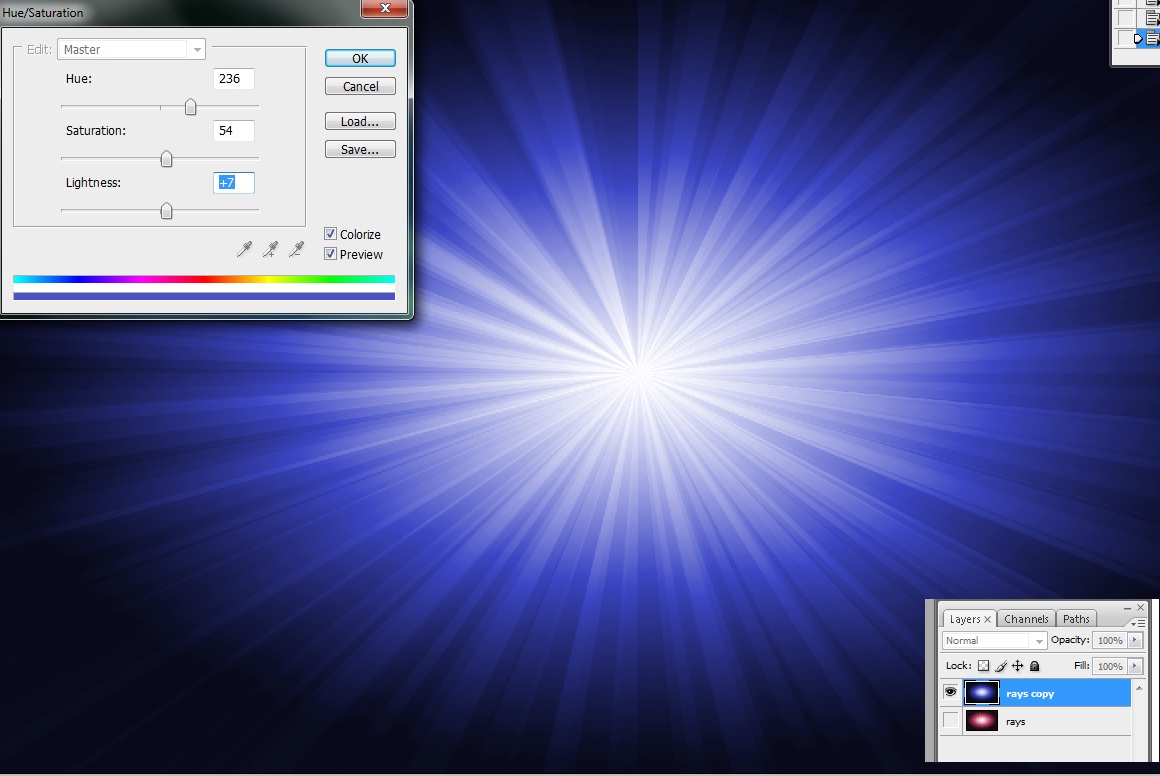
Now select rays layer and go to image>adjustment>hue/saturation and check colorize with following setting( you can use any color just slide hue slider )

Now select rays copy layer by clicking eye icon and again change hue/saturation with following setting
Now take a large soft eraser and erase rays copy layer as shown below —

Now press shift and select both rays and rays copy layer and right click select merge layers ——-
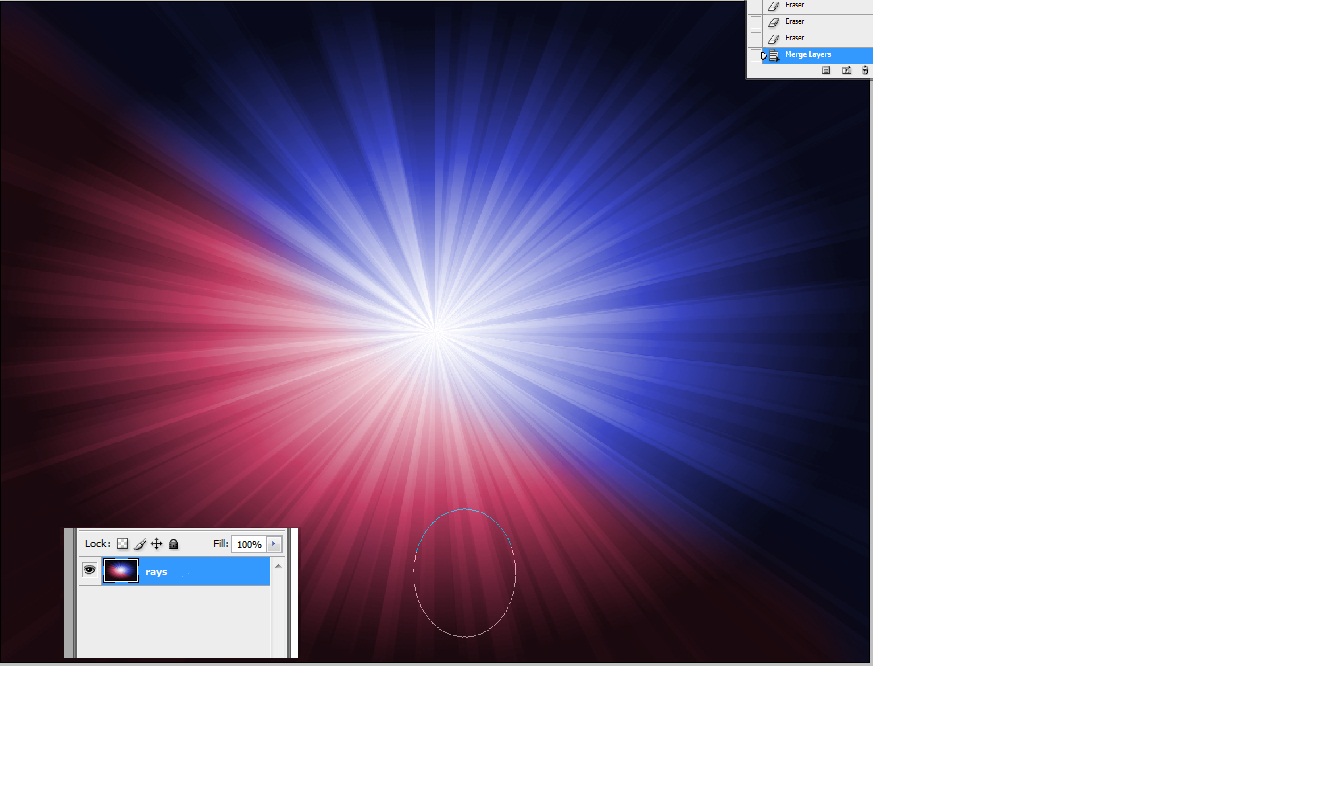
This is the background that we will use………
follow the following link for next part-
https://top10sense.com/2012/10/nice-heart-tutorial-continued/

Priyanka Pandey
Senior Research Editor · Top10Sense
Priyanka specializes in tech, consumer products, and digital trends. She combines hands-on testing, vendor interviews, and database research to create trustworthy “Top 10” rankings. Her work has been referenced by industry blogs and brand report pages.


Pingback: » Nice heart tutorial – continued | Woiba! » World Of Interesting Blogs & Articles
Pingback: Nice heart tutorial - continued - Top10Sense